Over fall break I made a mouse out of a rubber duck. This website walks through the build process.
Select A Tab To Learn More...
Why did I build it?
The duck hunt (finding a big enough rubber duck).
Getting everything ready
Putting it all together
What would I add or do differently if I did this project again?
Misc. Picutres
Why did I build it?
My wireless mouse that I use for my laptop hadn’t been working, but I thought the batteries were dead. I switched them out and… nothing. The adapter was probably broken (I plugged it in and unplugged it a lot), so I thought it must be time to get a new mouse.
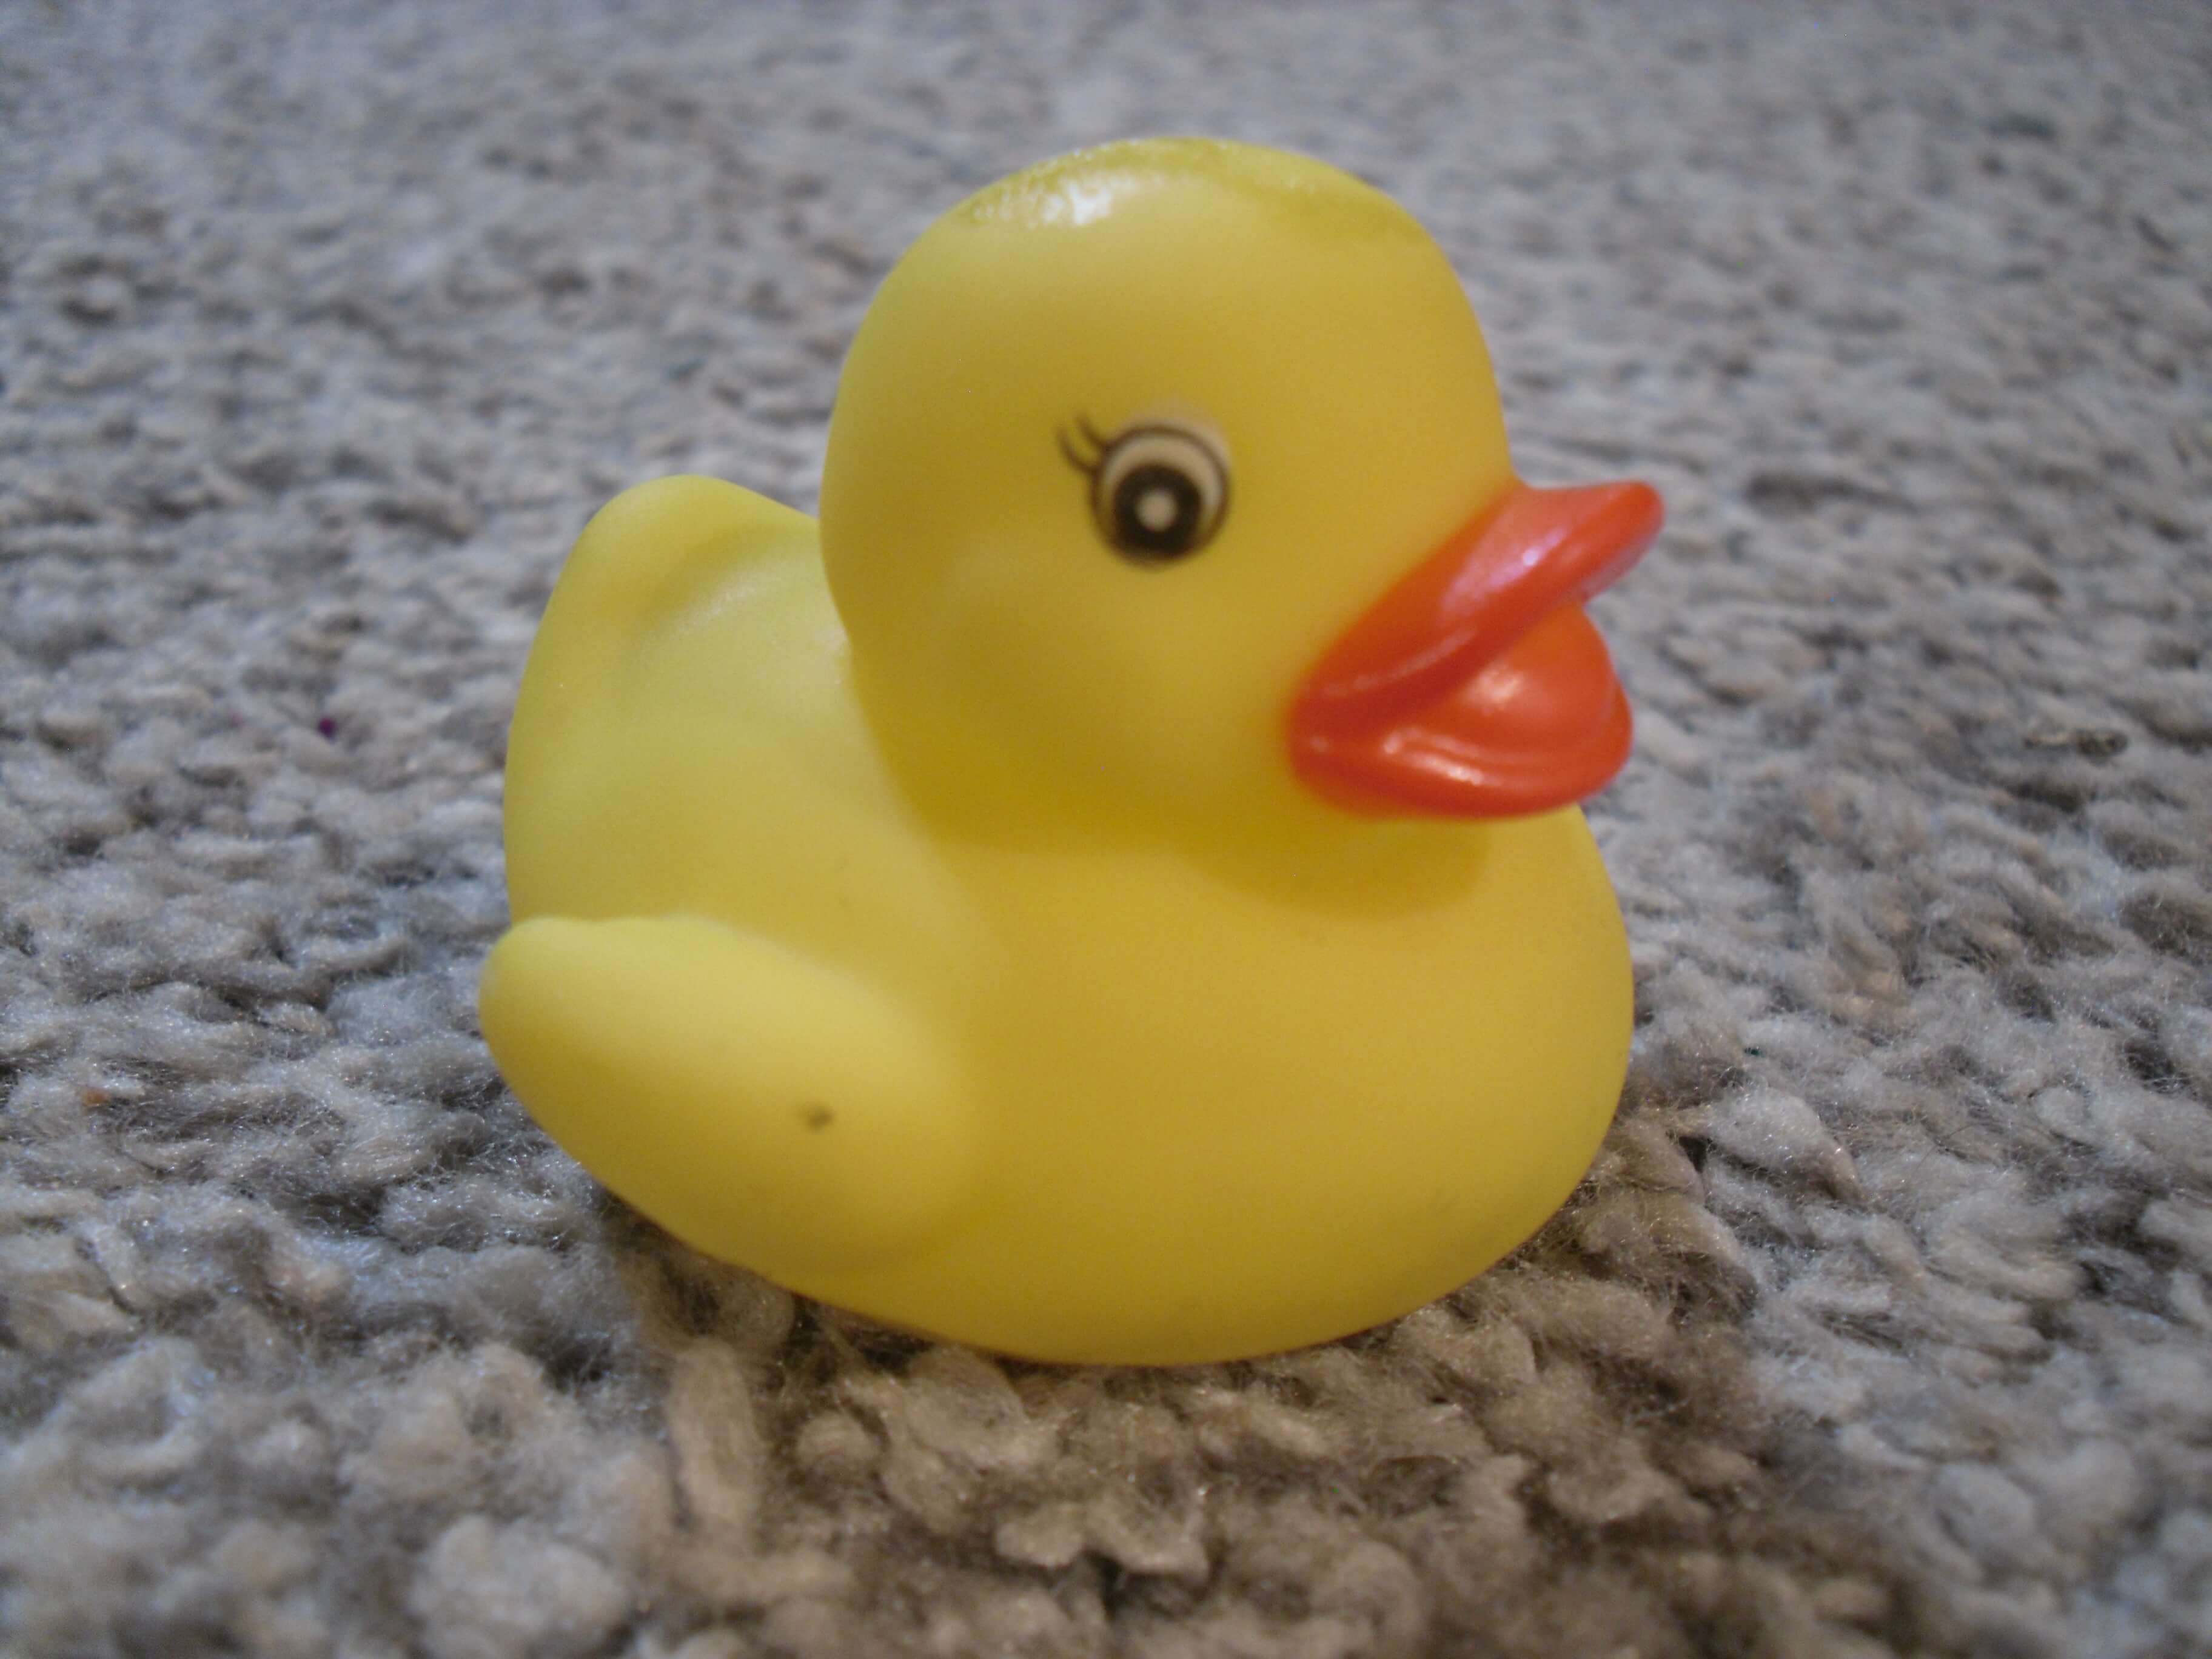
I sat at my kitchen table and spotted a small rubber duck in the middle. Somehow the thought of needing a new mouse and the rubber duck collided as I thought “I wonder if I could put a mouse inside a rubber duck?”
The idea also came from rubber ducks being a bit of an icon for software development. If you’re stuck on a part of a project, it can make more sense if you talk it through, so some developers have a rubber duck on their desk to talk to. The idea is also based off of a USB rubber ducky, a hacking device that pretends to be a keyboard and mouse to run scripts. In this project the usb rubber ducky is just a mouse.
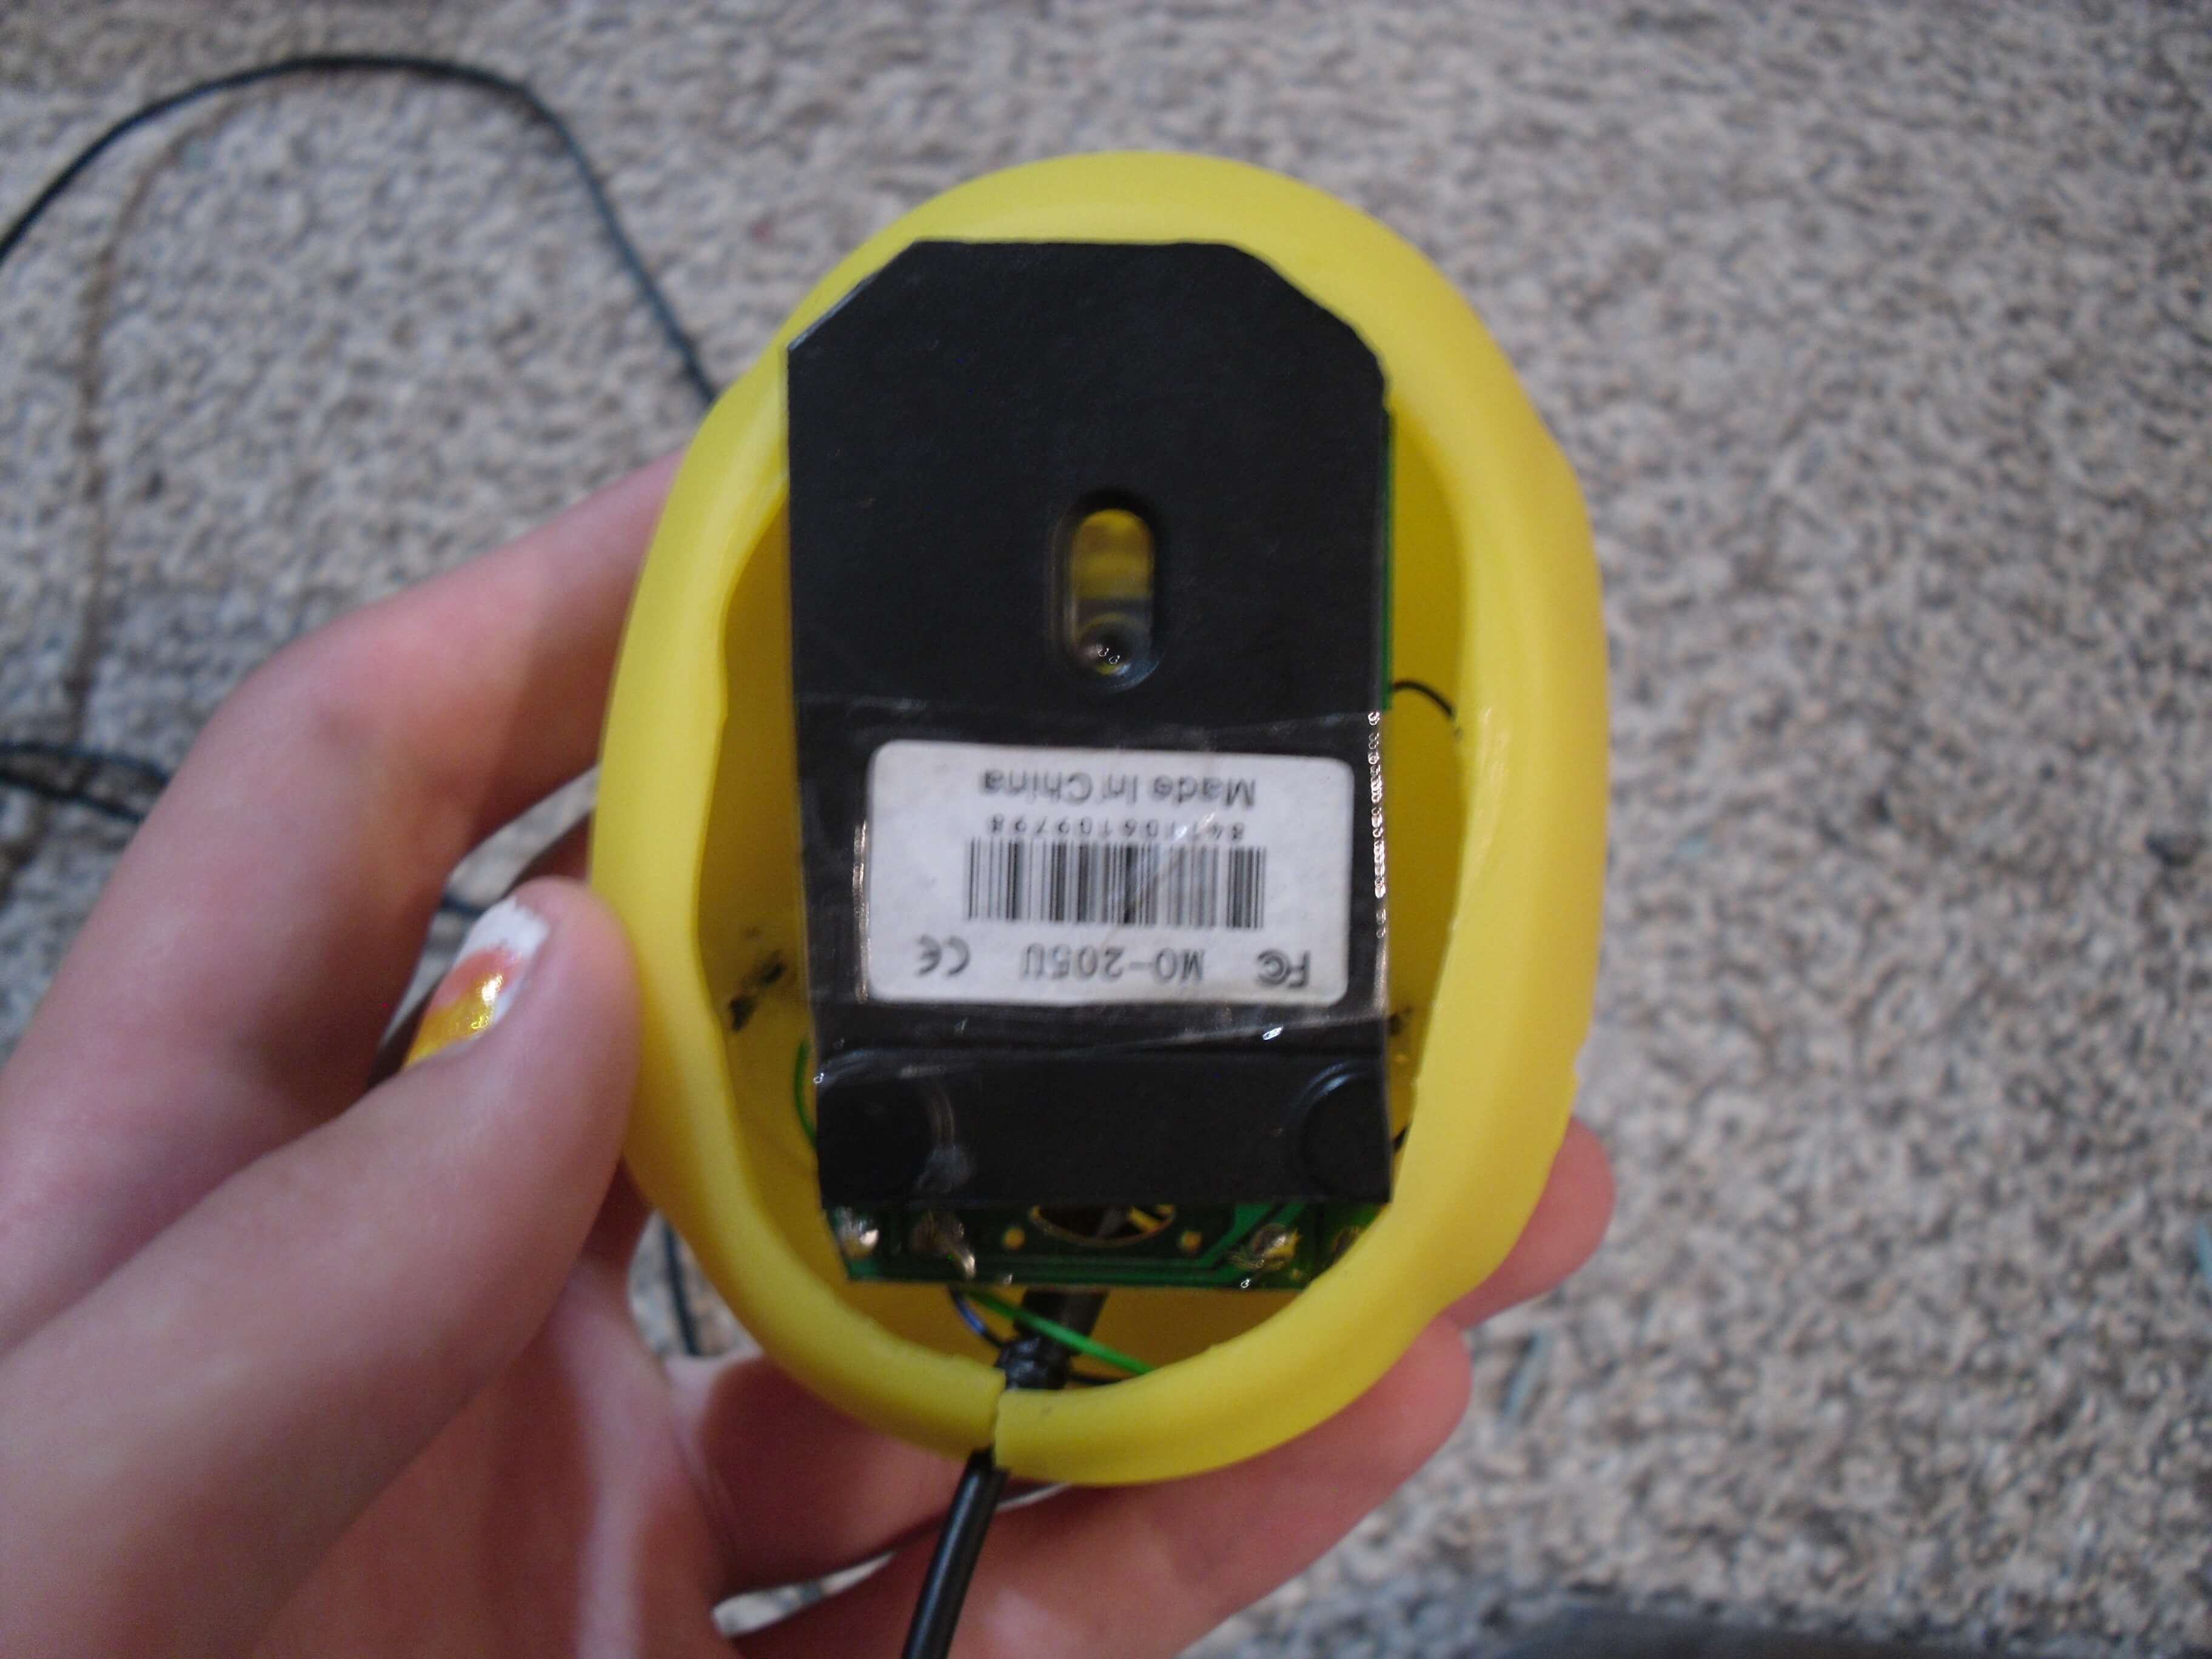
As soon as I came up with this idea I looked through my electronics junk drawer and found a small wired mouse that came with one of our computers. It’s uncomfortable to use so we switched it to a standard sized mouse. The small size may make it impractical for standard usage, it would be perfect to fit inside a rubber duck. I unscrewed the casing and removed the circuit board to see just how big the rubber duck had to be. I traced the shape onto a sticky note and left for the store.
The duck hunt (finding a big enough rubber duck).
Although the mouse was relatively small, it was still going to be a challenge finding a rubber duck that could fit the internals. I thought Walmart would probably have what I needed so I went there first. No luck; no duck. I checked Hobby Lobby, Dollar Tree, NPS, and Big Deal Outlet, but to no avail. It seemed that getting a duck the size I wanted was impossible.
I decided to look up on my phone “rubber ducks near me.” I scrolled through, first only seeing the small 1” ducks I had already found at Walmart, but then I saw it. A 2.5” duck at Target. I quickly measured the sticky note sketch with my thumb, sure enough it was exactly 2.5”.
I got in my car and rushed to the store, ecstatic to get my hands on this perfect duck. I walked into the Target, and started looking. I checked the bath aisle and the toy aisle, but I couldn’t find it. “It could be an online exclusive,” I worried. I looked at the app and it gave me an aisle number; it wasn’t in the bath or toy aisle, it was in the baby aisle! I rushed over and saw it. The most beautiful duck, perfect for making a mouse out of. I took the sticky note out of my pocket and… It fit perfectly.
Getting everything ready
I got home with my newly acquired duck and I set it on the table. I only now realized the scope of my project… I needed to cut a hole in the bottom of the mouse and somehow mount the internals inside, but how? My step-brother let me borrow a knife, and I started digging into it, though it was going to be impossible to get a clean cut.
My dad noticed I was struggling so he offered a scalpel he bought for trimming silicone molds. I took the scalpel out of the packaging and sunk it into the bottom of the duck. It cut through like butter. Soon enough I had a hole at the bottom, perfect for fitting the mouse into.
Putting it all together
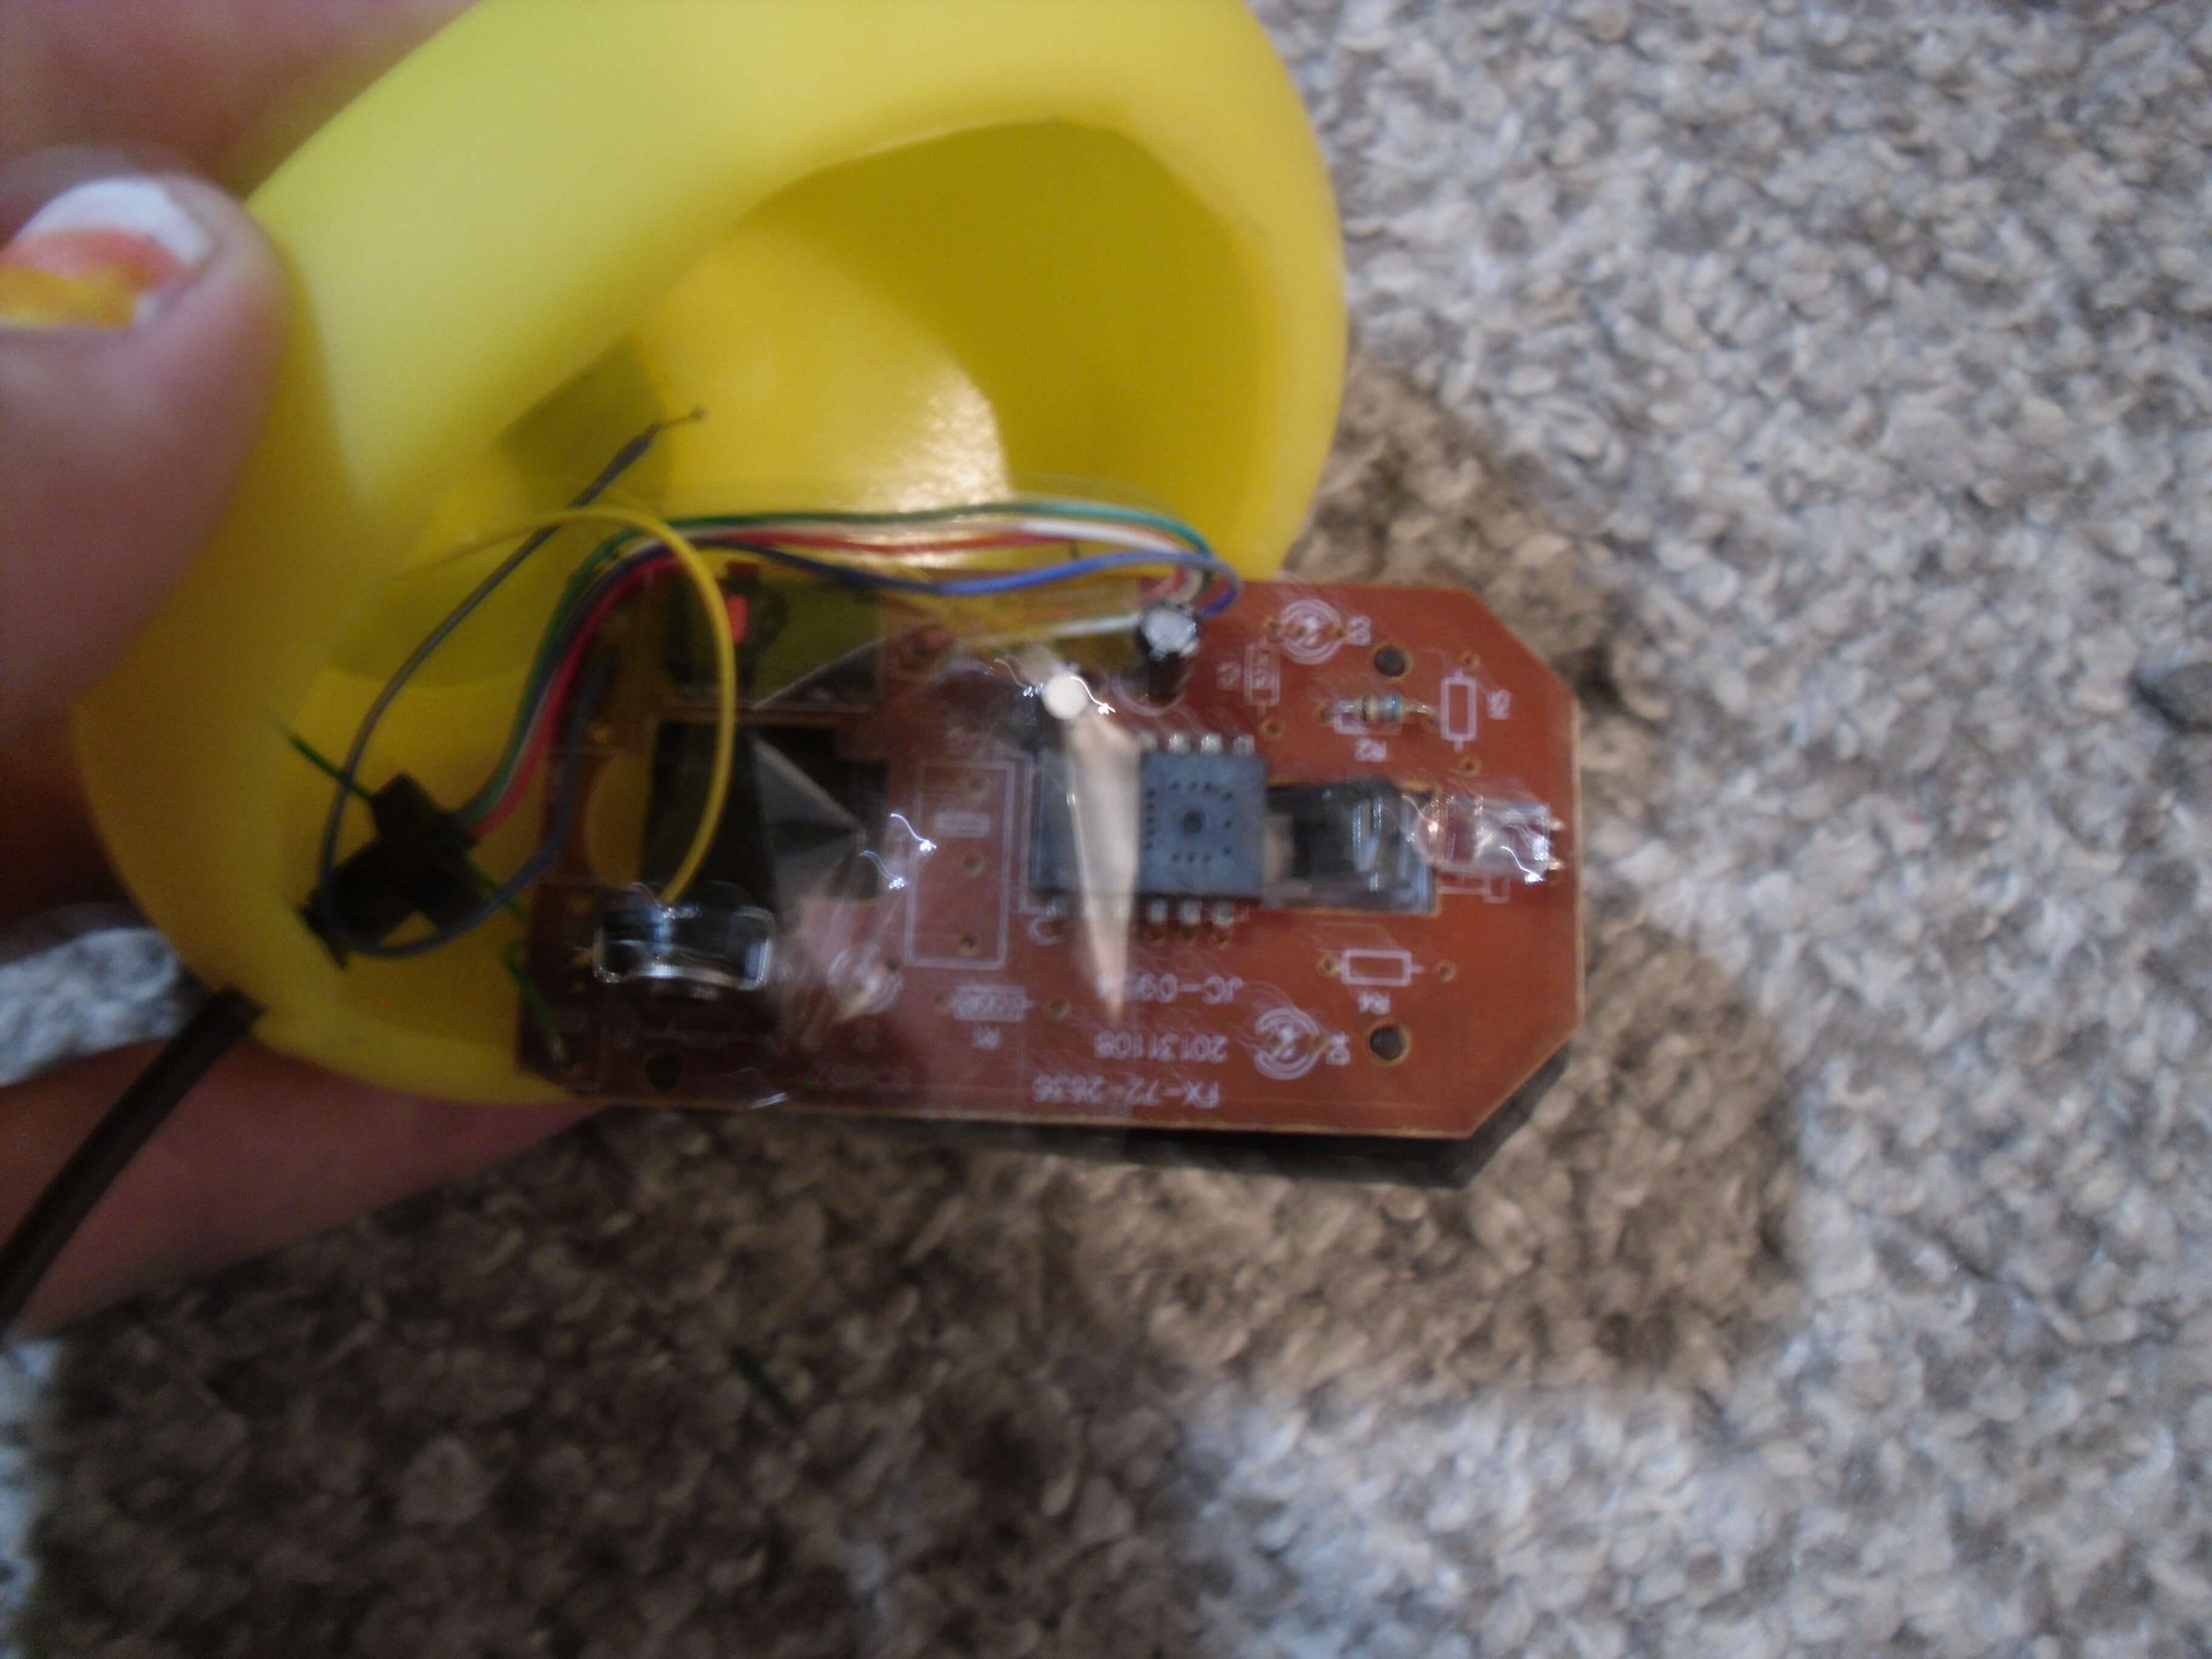
Now that I had all the parts ready, I needed to fit them inside the duck. I put the circuit board in and cut a hole in the front for the cable, but turning it on showed that I needed the bottom of the mouse shell for the optical sensor to work. I drew lines on the plastic where it needed to be trimmed to still fit in the duck. Now I just needed a way to cut it. My dad again offered to help, this time by cutting it on his power saw. I taped the remainder of the shell to the circuit board and it all worked perfectly.
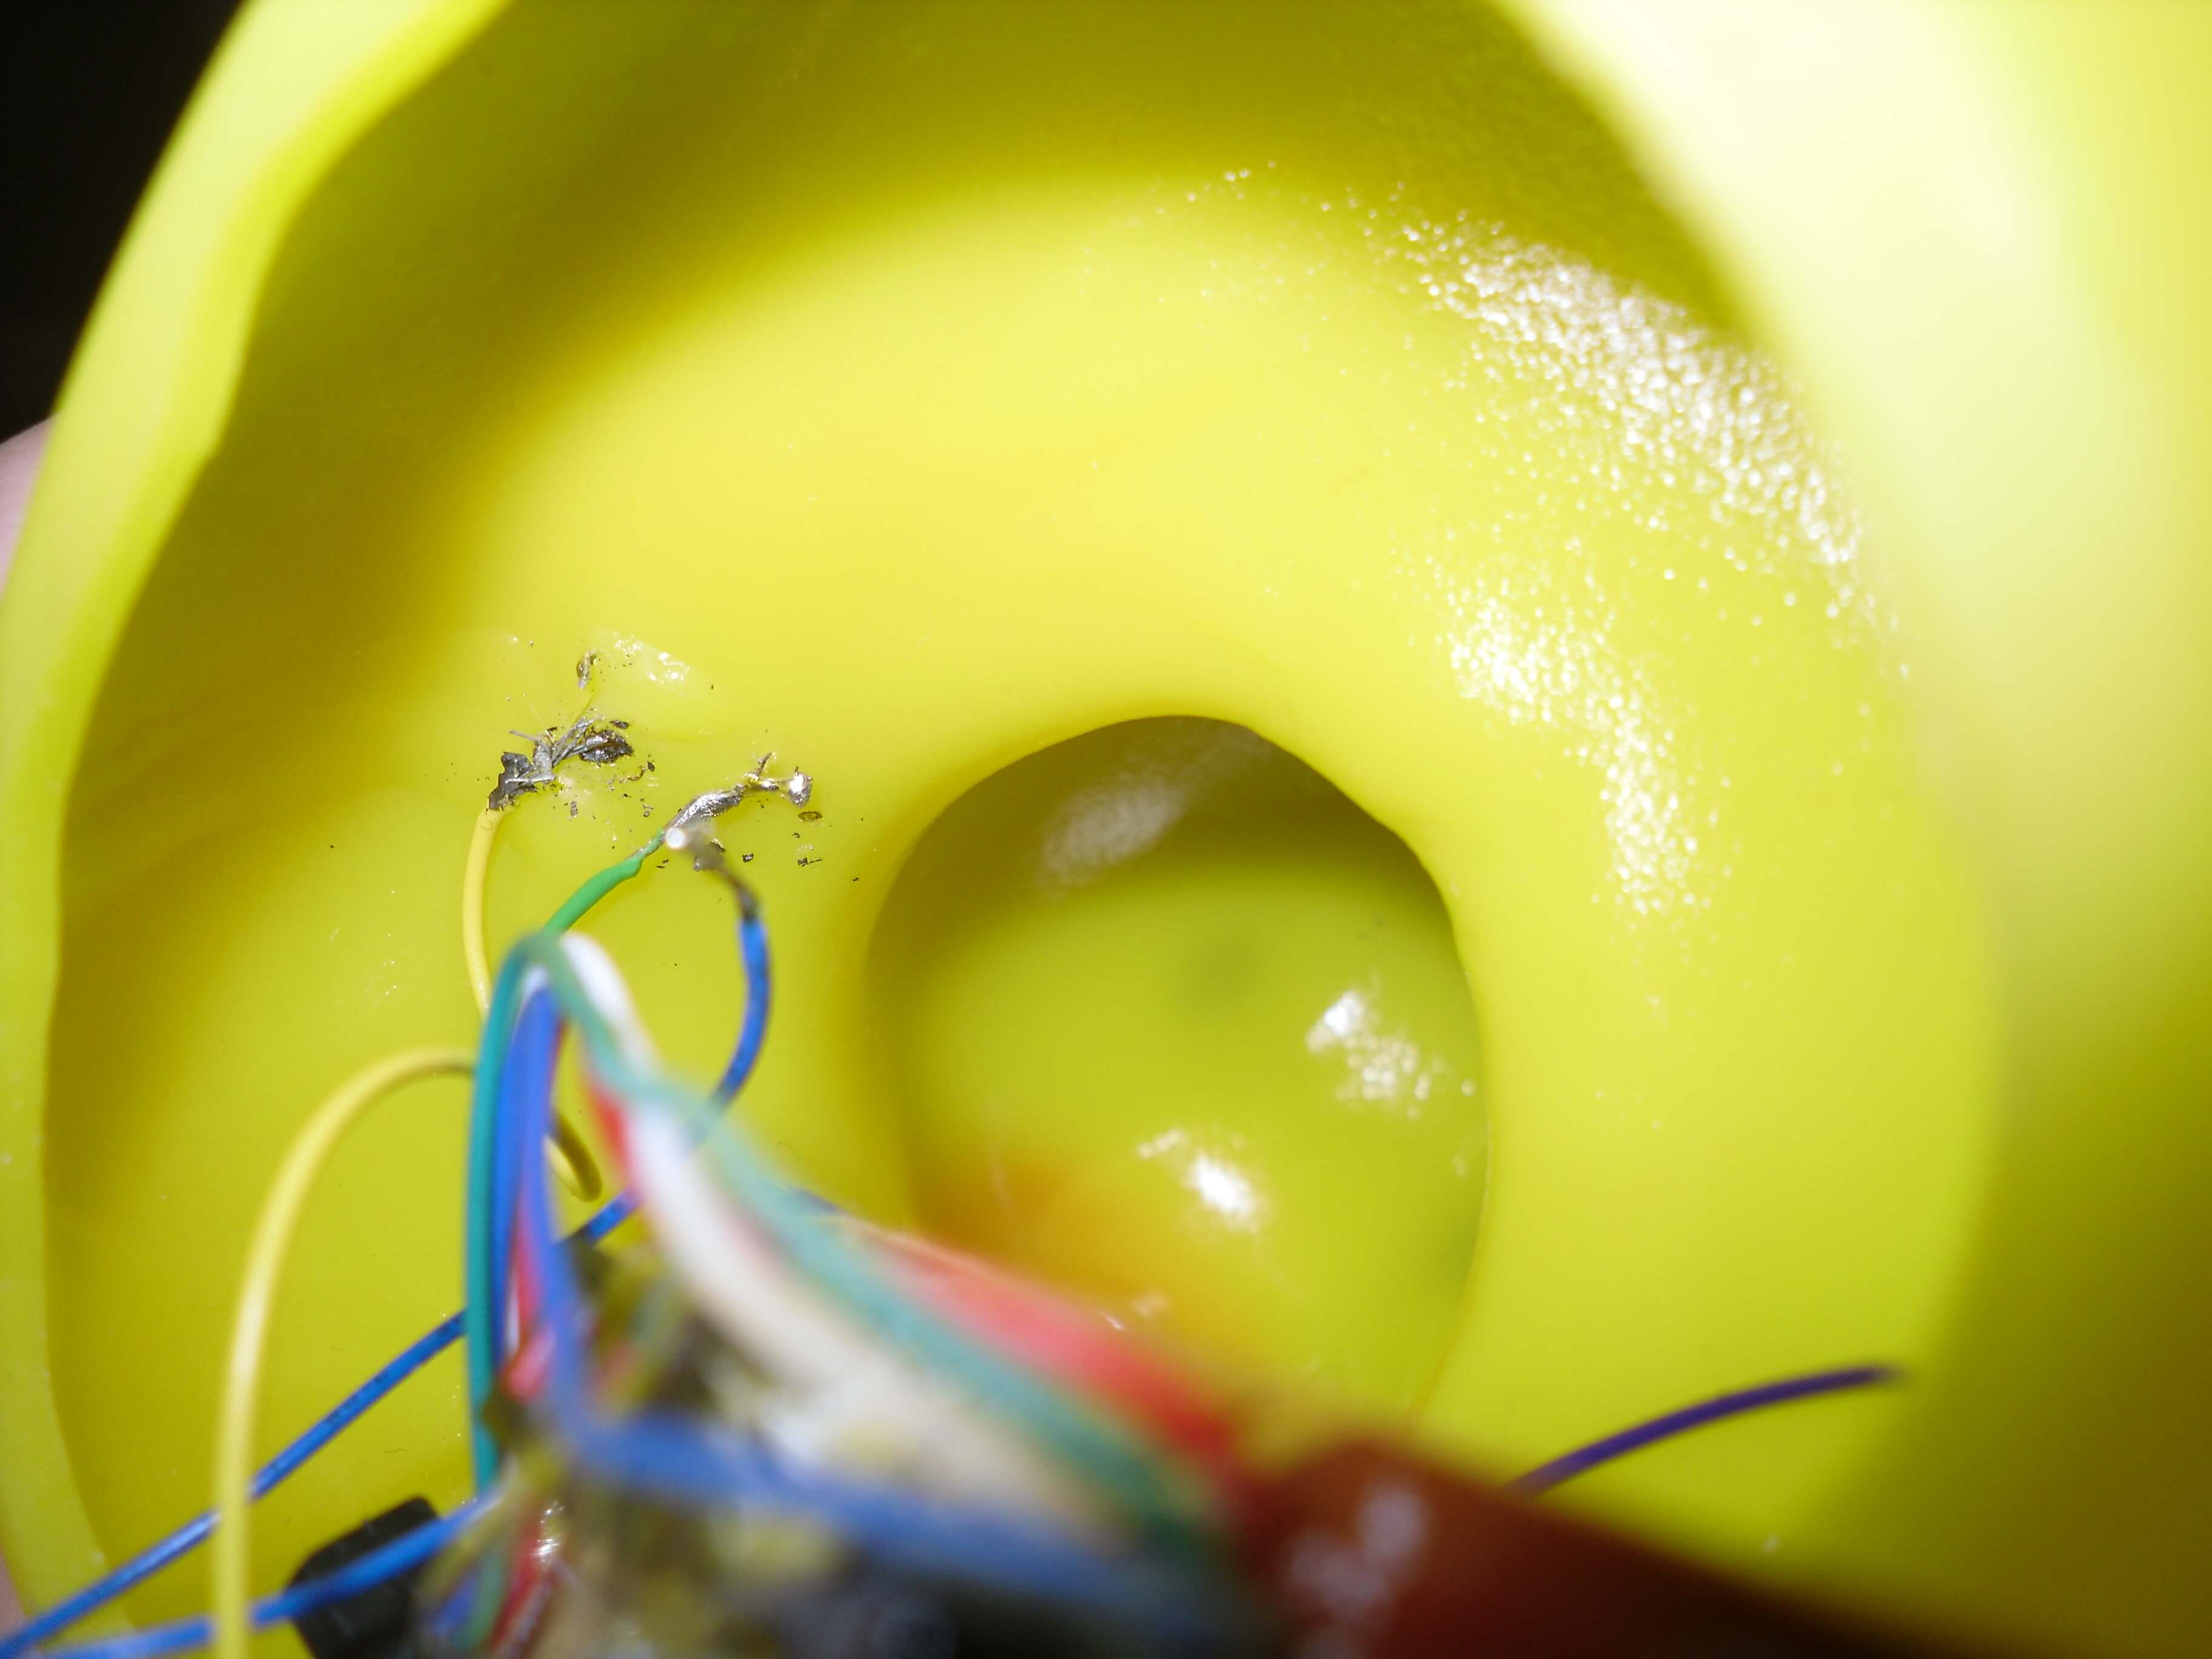
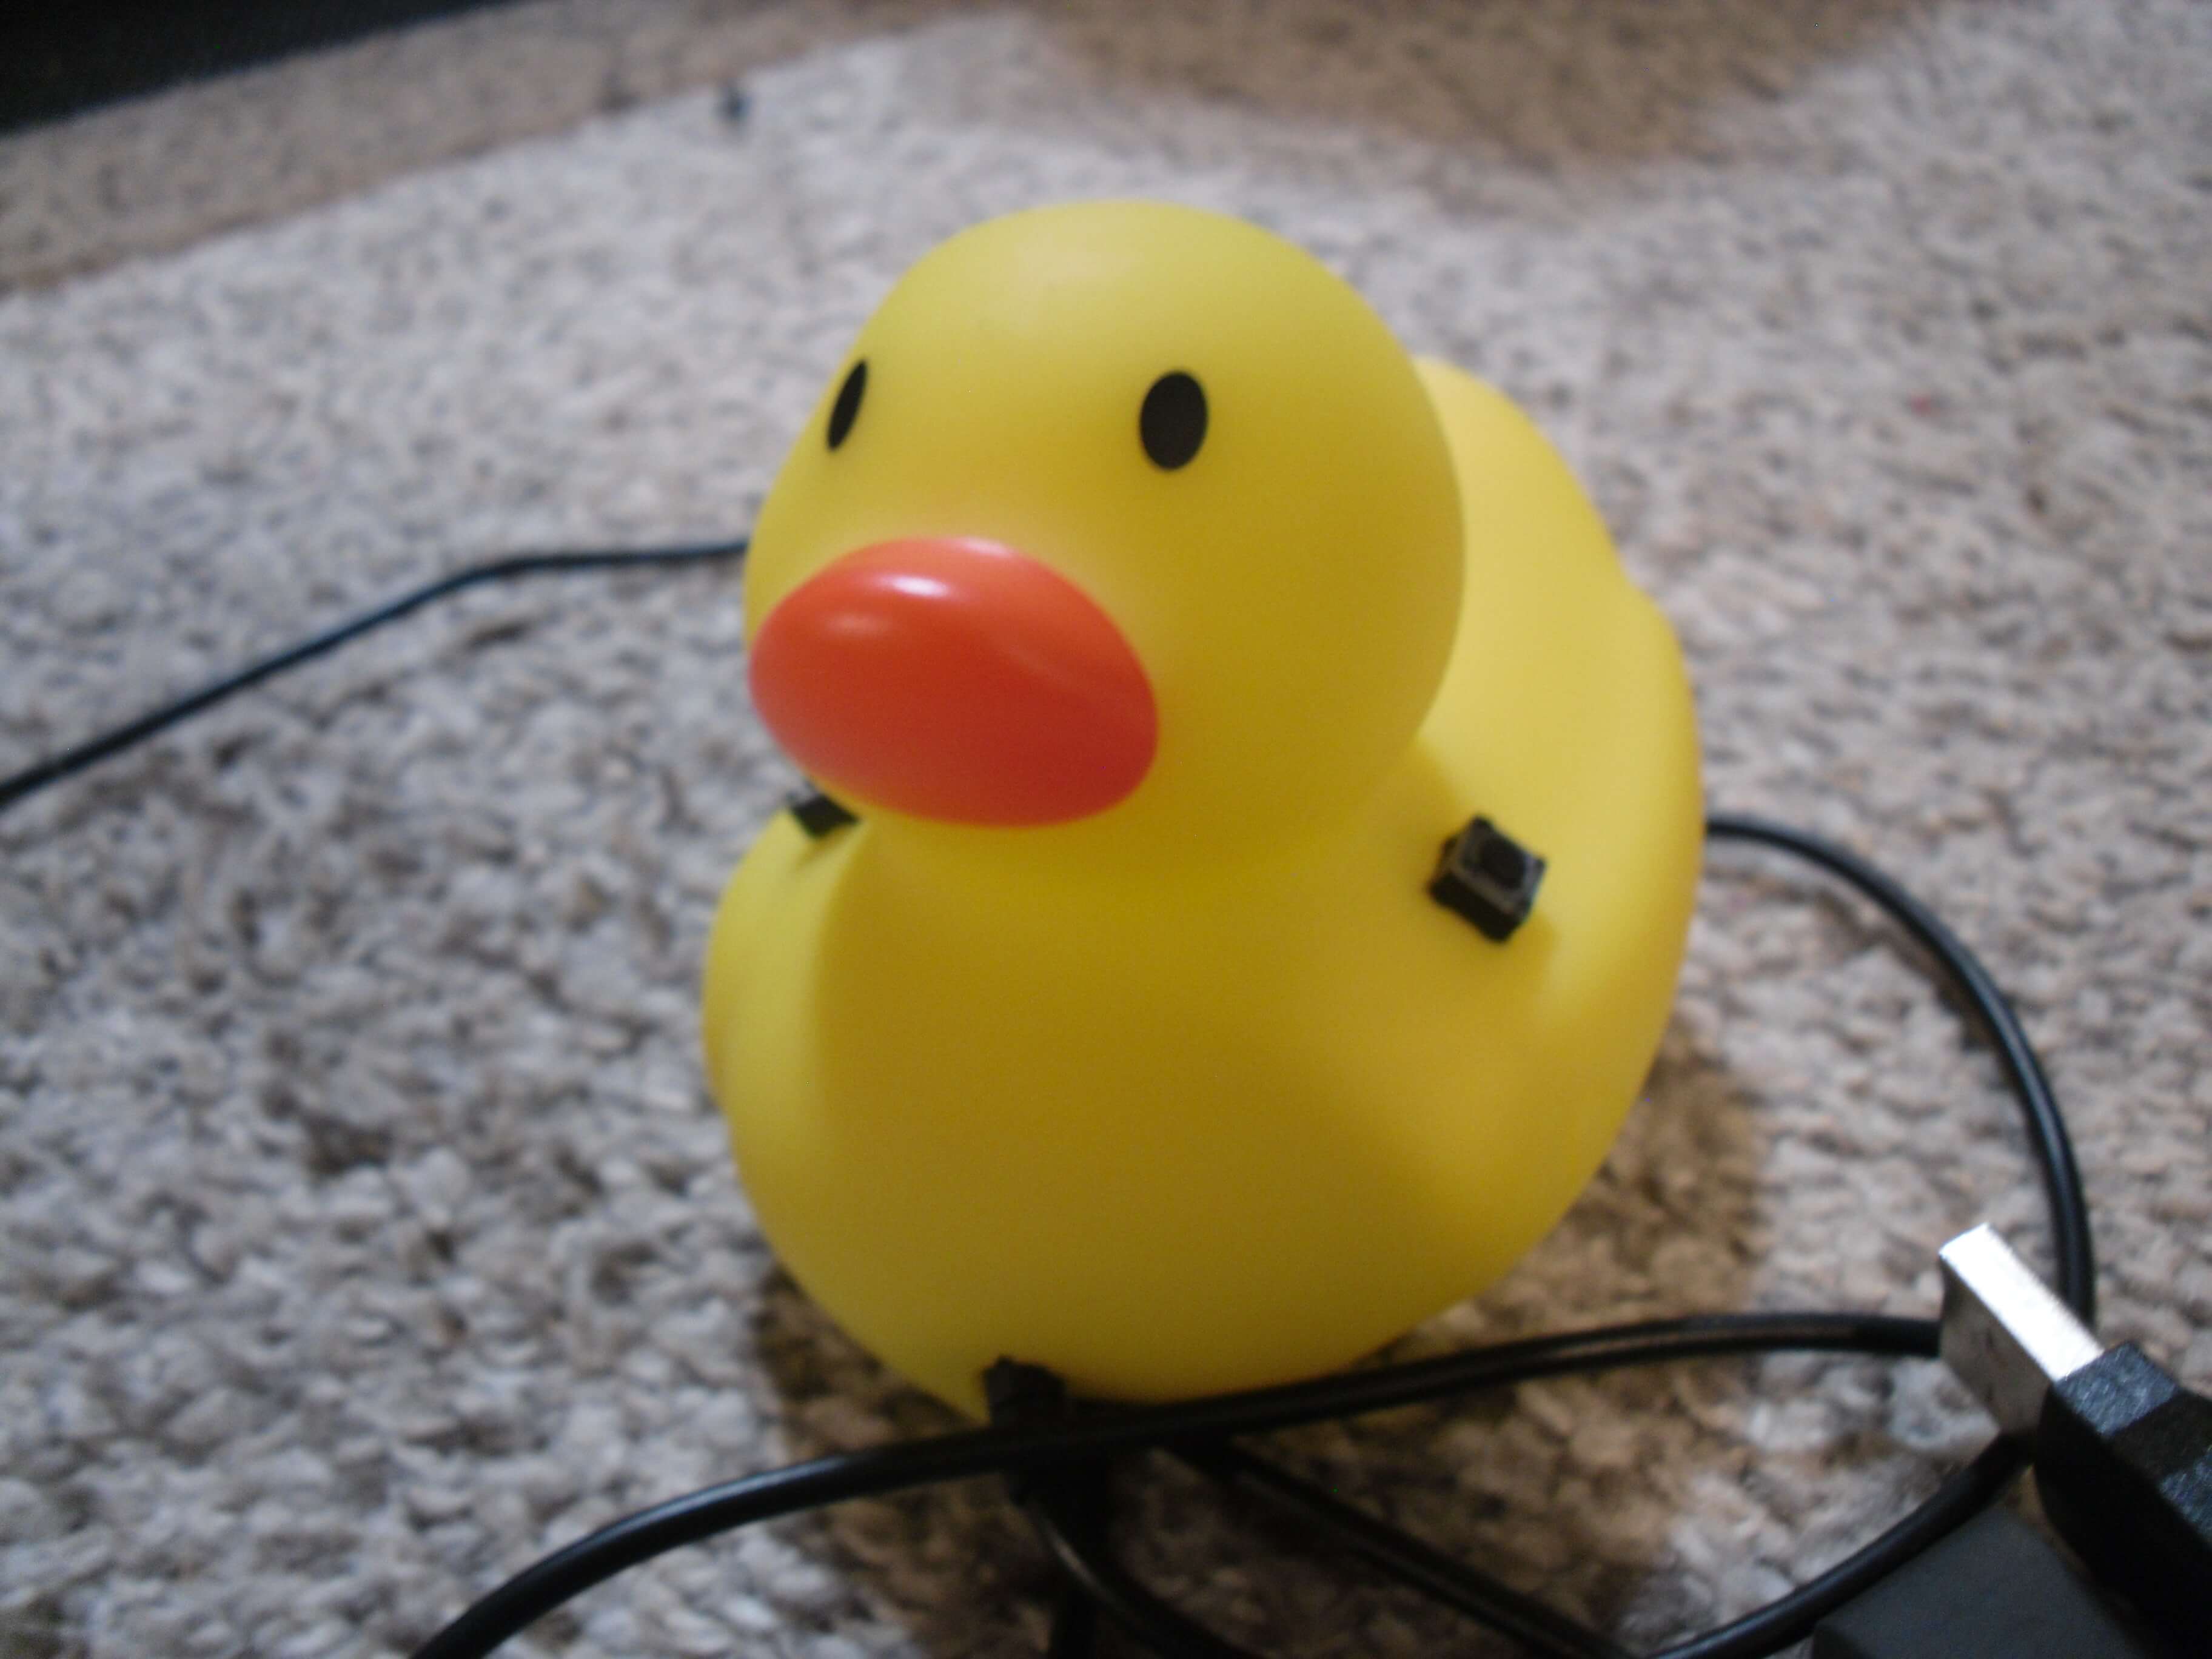
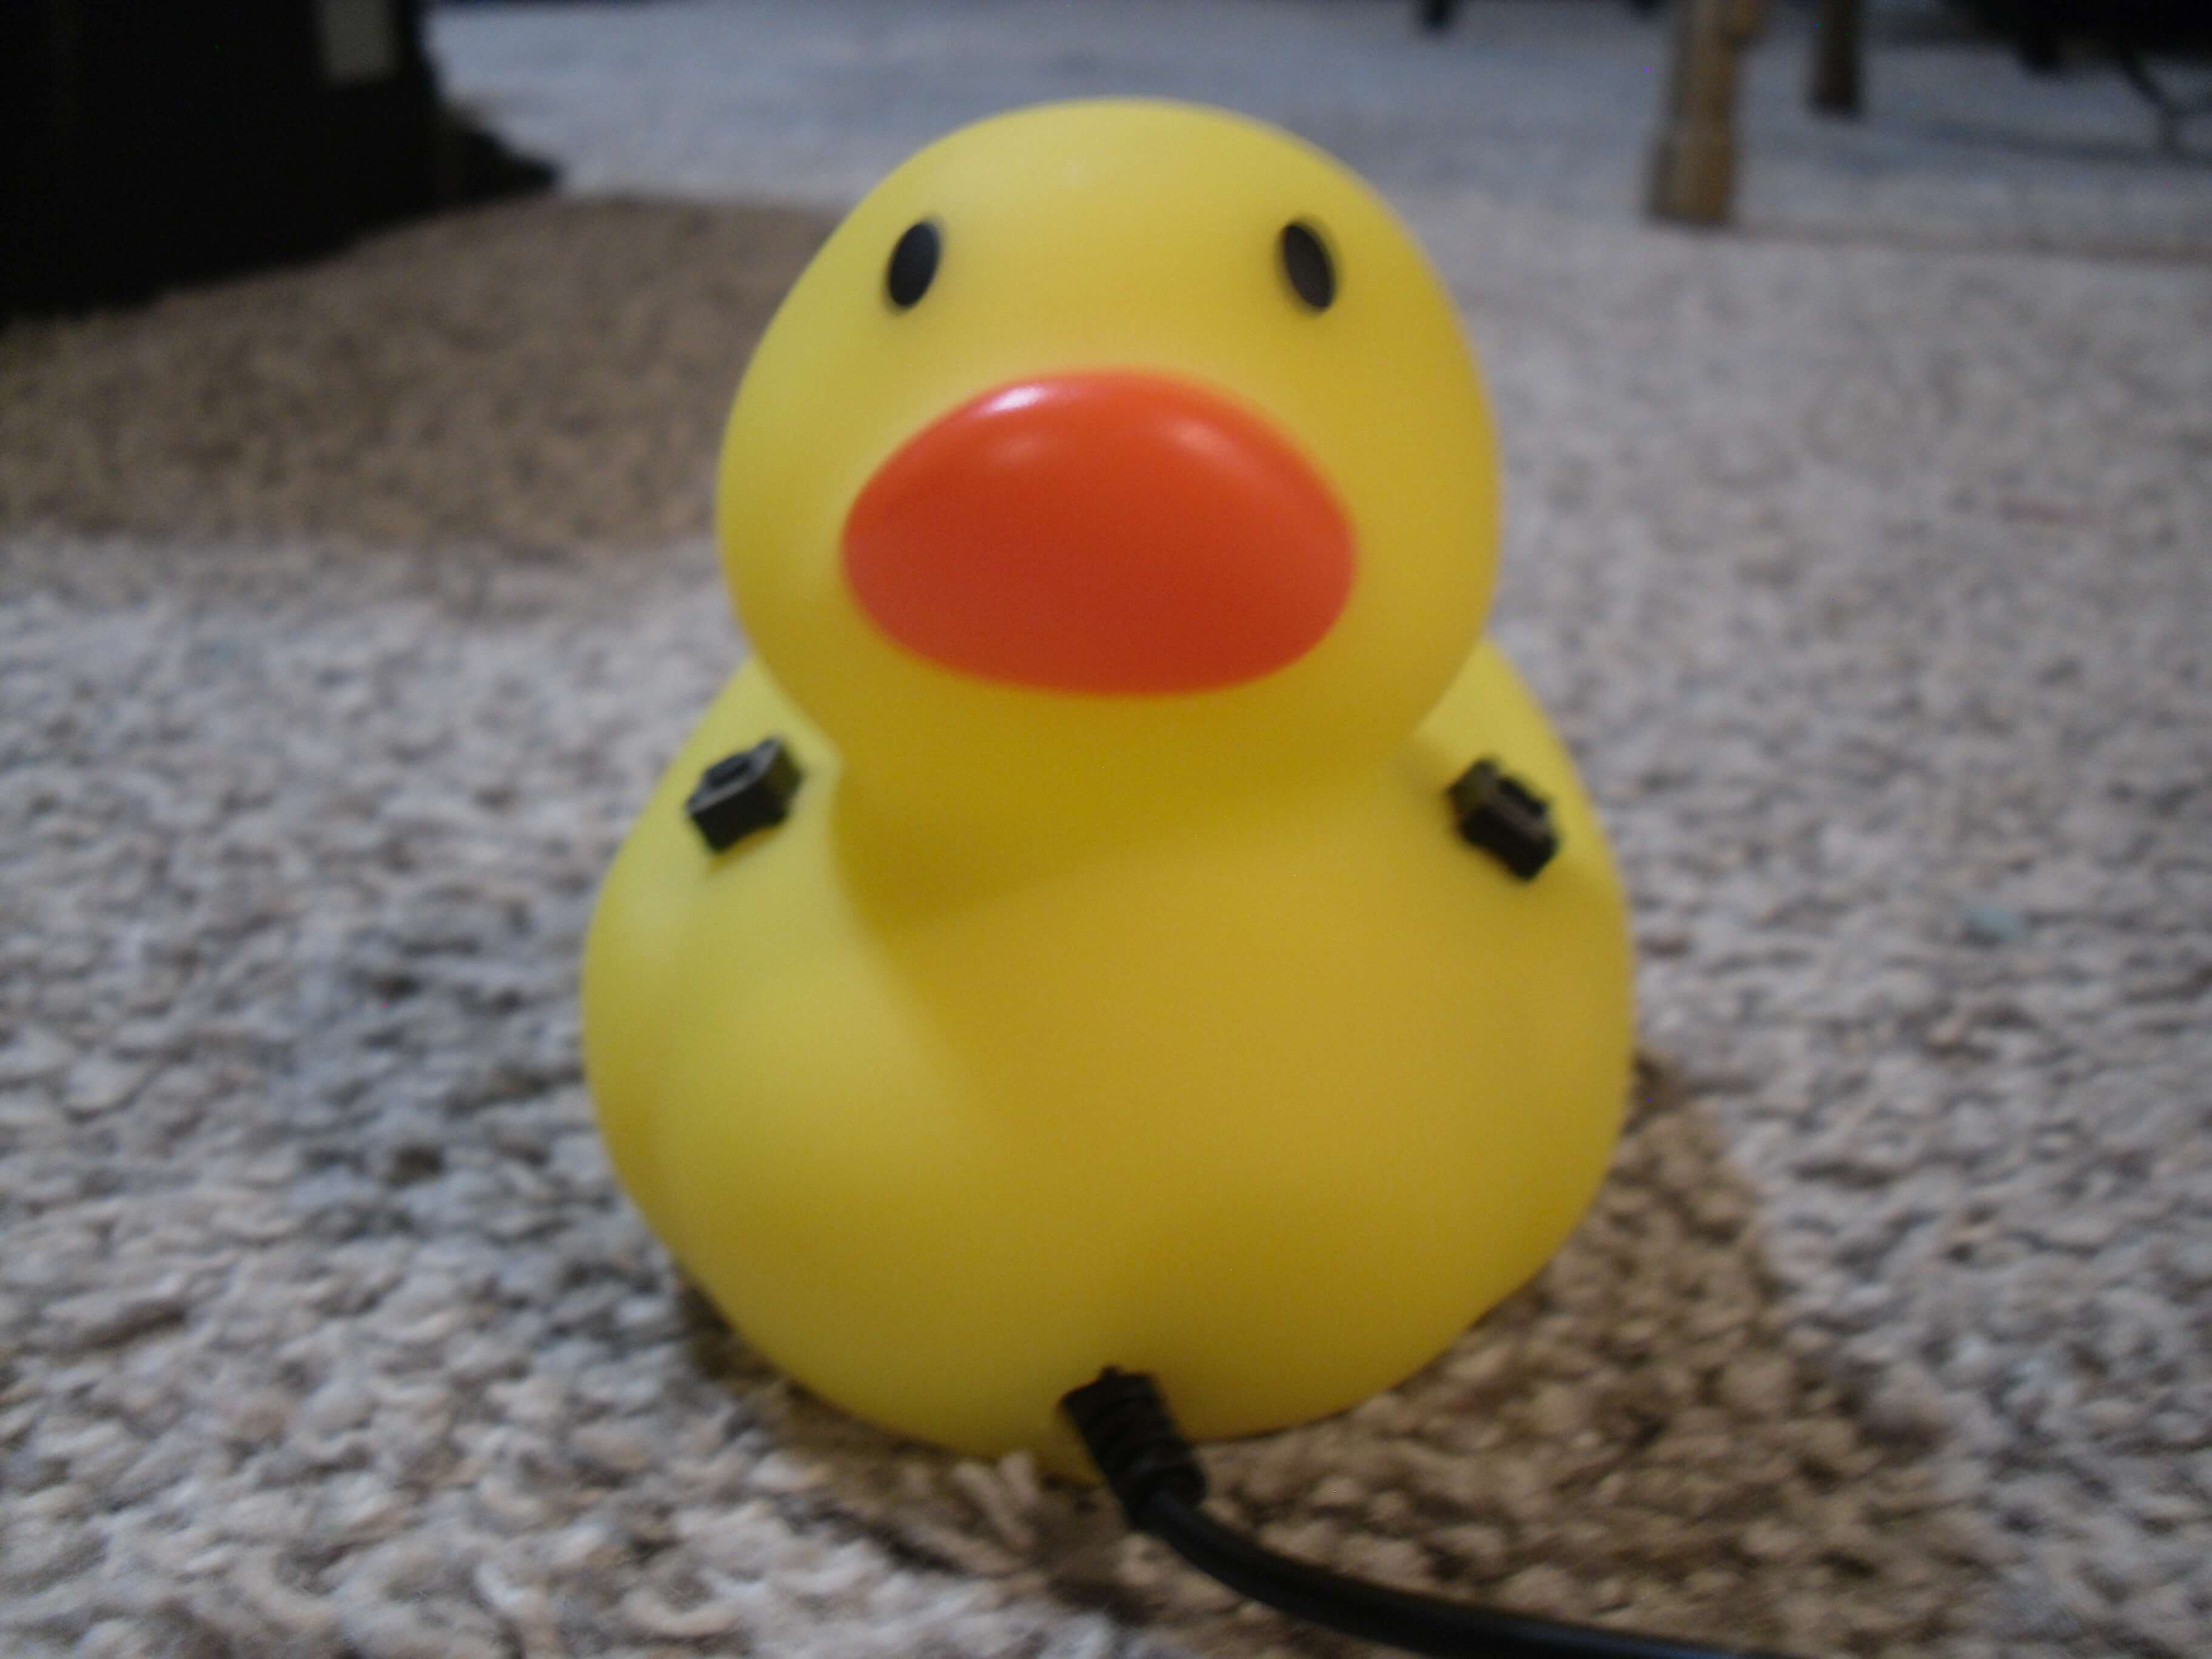
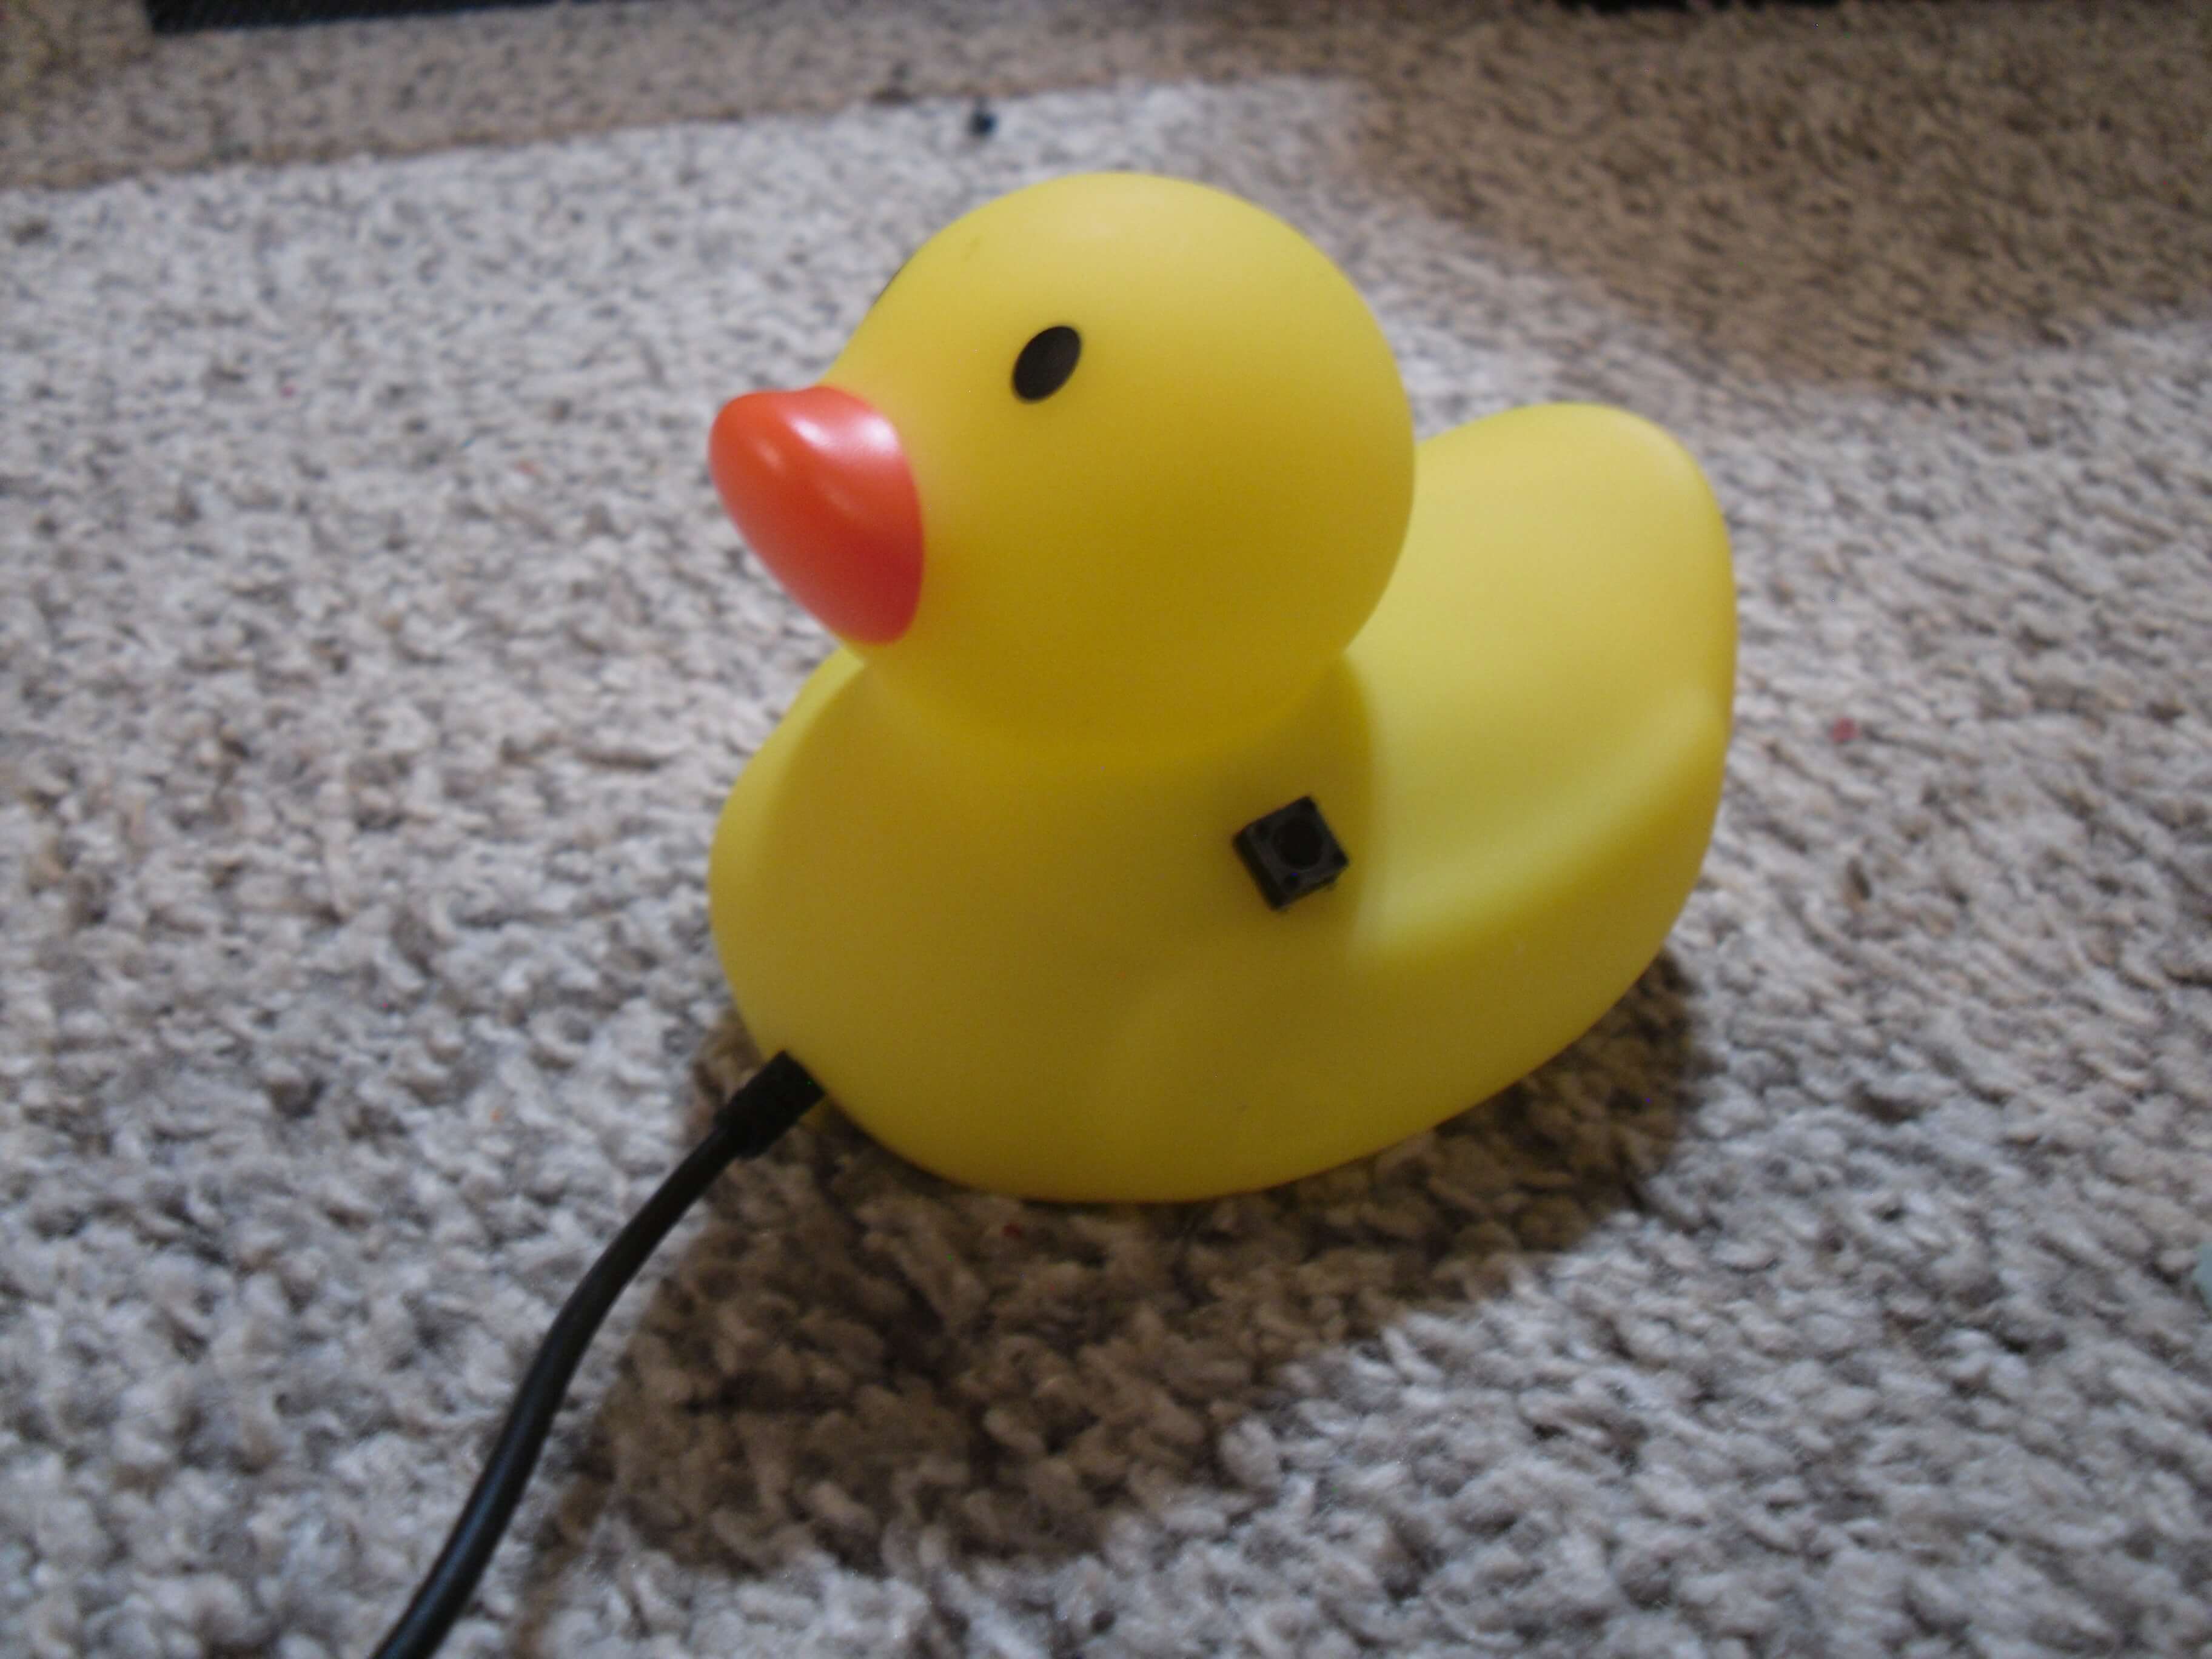
While the douse could move around the cursor, you could only use the buttons if the mouse wasn’t attached to the duck. That was unacceptable, so I thought of ways to mount the buttons on the duck. I thought of maybe putting them on the eyes, but that wouldn’t be practical (not to mention probably terrifying). I decided to put them on either side of the head. I was going to mount the buttons in the duck, but cutting a perfect hole and being able to push the buttons without knocking them out of place would be challenging, so I ultimately decided to set them on top. This worked surprisingly well, and with them in place all I had to do was solder wires from the board to the buttons.
What would I add or do differently if I did this project again?
The duck is fully functional, though it is missing the middle scroll wheel. I think It would be a lot of fun to mount this in the head to give the duck a cool mohawk! I didn’t end up implementing this because it would be very difficult to mount.
I had cut out the entire bottom of the duck, so there's wide holes on either side of the circuit board. If I could start over, I would have traced the circuit board onto the duck and only cut out that part of it so the final product would look a little better.
Overall, I’m really happy with how it turned out. It may not be very practical, but it’s so much fun to use. If anyone wants to attempt this project on their own, I’d recommend it! It was a lot of fun and helped me practice my soldering skills.